Anyone who’s ever worked with me knows I rely on my Adobe arsenal 100% to do what I do. Photoshop, Illustrator, Express, you name it. They’re basically my creative superpowers.
Like most creatives, I’ve seen a lot of tools come and go. So when Photoshop introduced Generative Fill, I was a bit cautious. AI editing sounds trendy. But does it actually deliver?
The answer is yes. And it’s changed the way I work significantly.
- Get 65% off Adobe software – Follow our Adobe Creative Cloud discount guide.
- Get 10 Free Stock Images from Adobe Stock — Royalty-free photos, illustrations and videos
Generative Fill is now one of my go-to tools whenever I need to clean up images, extend backgrounds, or create something from the ground up without starting from a blank canvas. It’s fast, it’s intuitive, and it helps me turn ideas into clean visuals with way less legwork.
In this post, I’ll walk you through how I use Generative Fill inside Photoshop to save time and stay creative. You’ll see exactly how it works, what it can do, and why it might just become your new favorite tool too!
What Is Generative Fill in Photoshop?
Generative Fill is an AI-powered (see top AI tools here) feature in Photoshop that lets you create or modify images using text prompts. It’s built on Adobe Firefly, Adobe’s creative AI model that’s trained on licensed content, and it feels like Photoshop just got a super smart assistant!
All you have to do is select part of your image, type in what you want to appear in that space, and let Generative Fill do the rest. It analyzes the surrounding pixels and blends new content in a way that looks surprisingly natural.
Before this, I’d spend so much time manually cloning, masking, blending, and adjusting layers to get the perfect look. Now I can skip straight to the fun part: creating and refining.
Why Use Generative Fill?
Here’s how Generative Fill has changed my workflow:
- It saves hours. From removing distractions and fixing a composition, to extending a background, I can do it all with a few clicks.
- It boosts creativity. Sometimes I don’t know what I want until I see it. Generative Fill helps me explore variations and ideas I might not have come up with on my own.
- It’s beginner-friendly. You don’t need to be a Photoshop wizard to use it. Just make a selection, type your prompt, and go.
I’ve used it for everything from client work to quick social posts, and it honestly feels like magic.
What You’ll Need
Before we dive in, here’s what you’ll need to follow along:
- The latest version of Adobe Photoshop (Beta or 2024 version)
- A high-resolution image to work with
- A bit of imagination and a willingness to experiment
Step-by-Step: How to Use Generative Fill in Photoshop
Here’s exactly how I use Generative Fill in my projects. I’ll walk you through the full workflow with tips and examples.
Step 1: Open Your Image in Photoshop
Start by opening the image you’d like to edit. For this example, I’m using a photo of a coffee mug on a table.
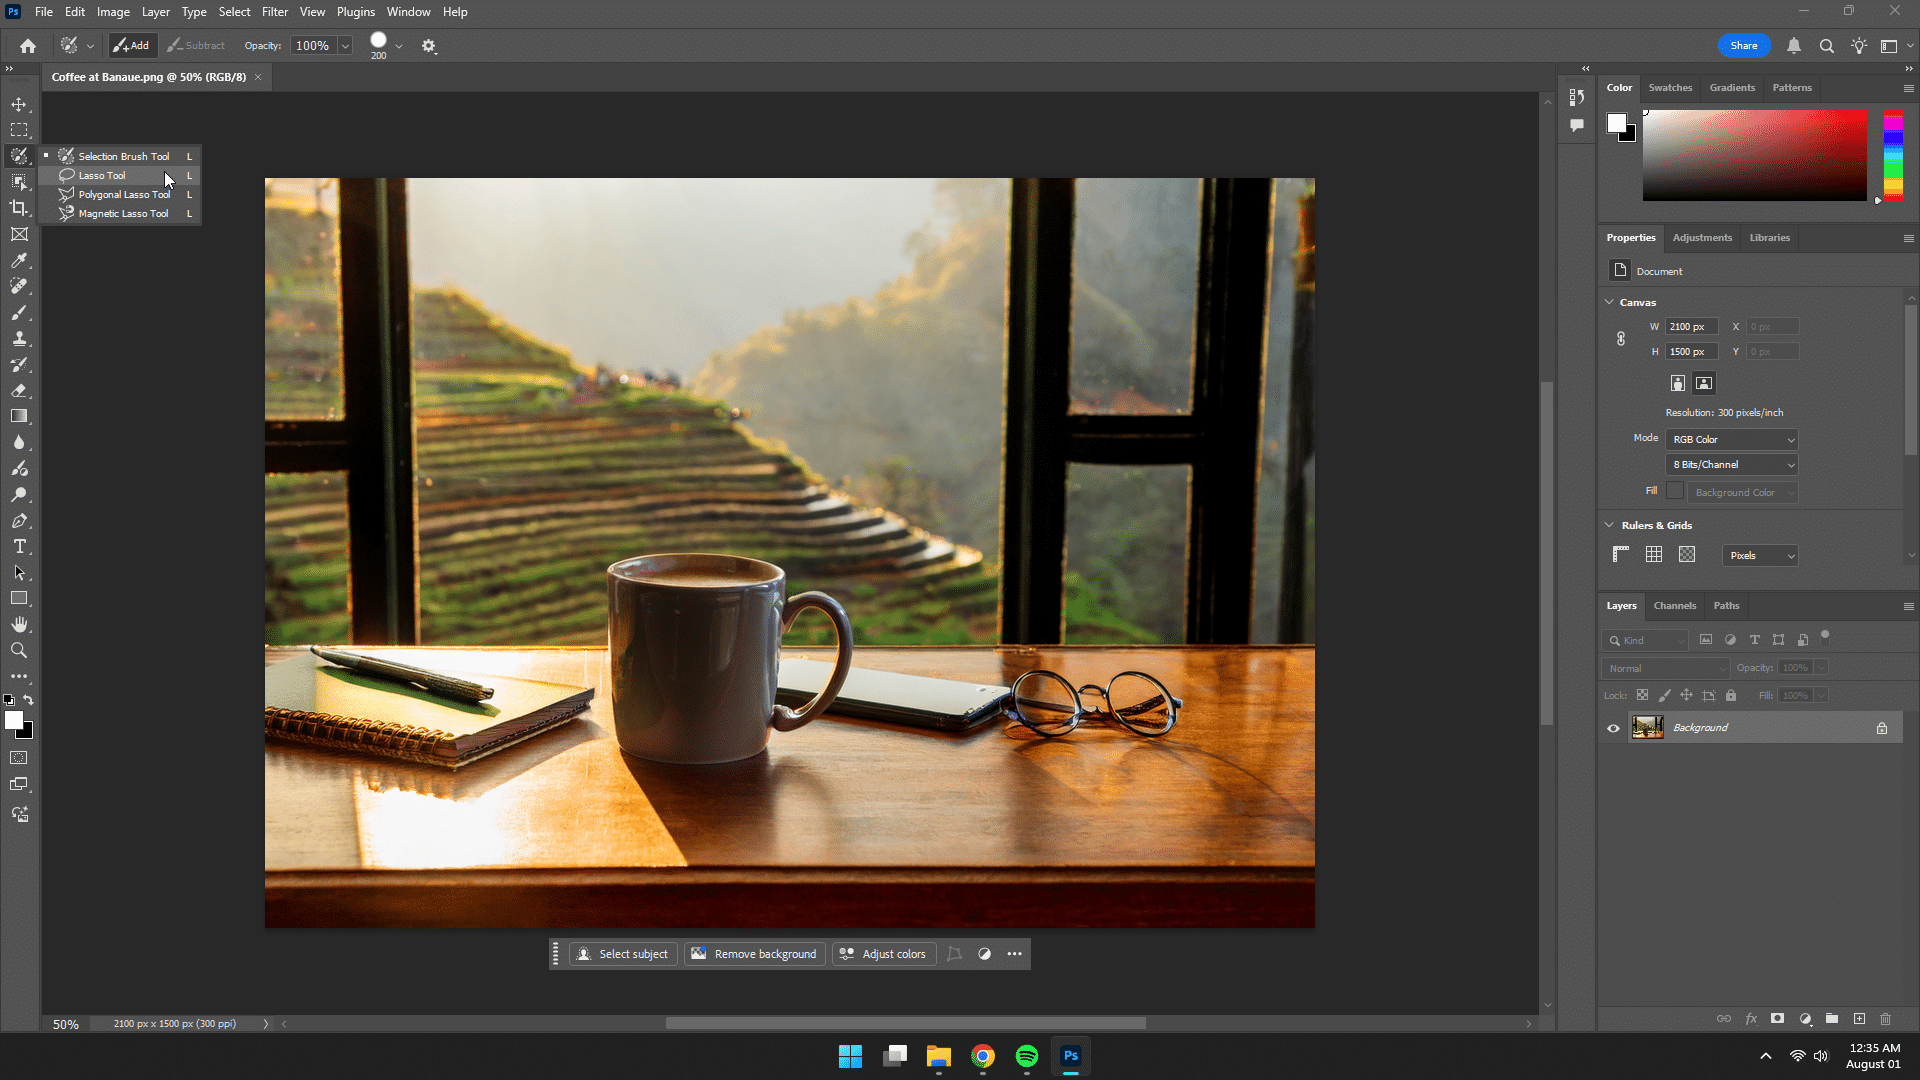
Step 2: Select the Object
Use the Lasso Tool (L) or Object Selection Tool (W) to highlight the area you want to remove.
Step 3: Click “Generative Fill”
Once selected, you’ll see the Generative Fill bar appear. Click it.
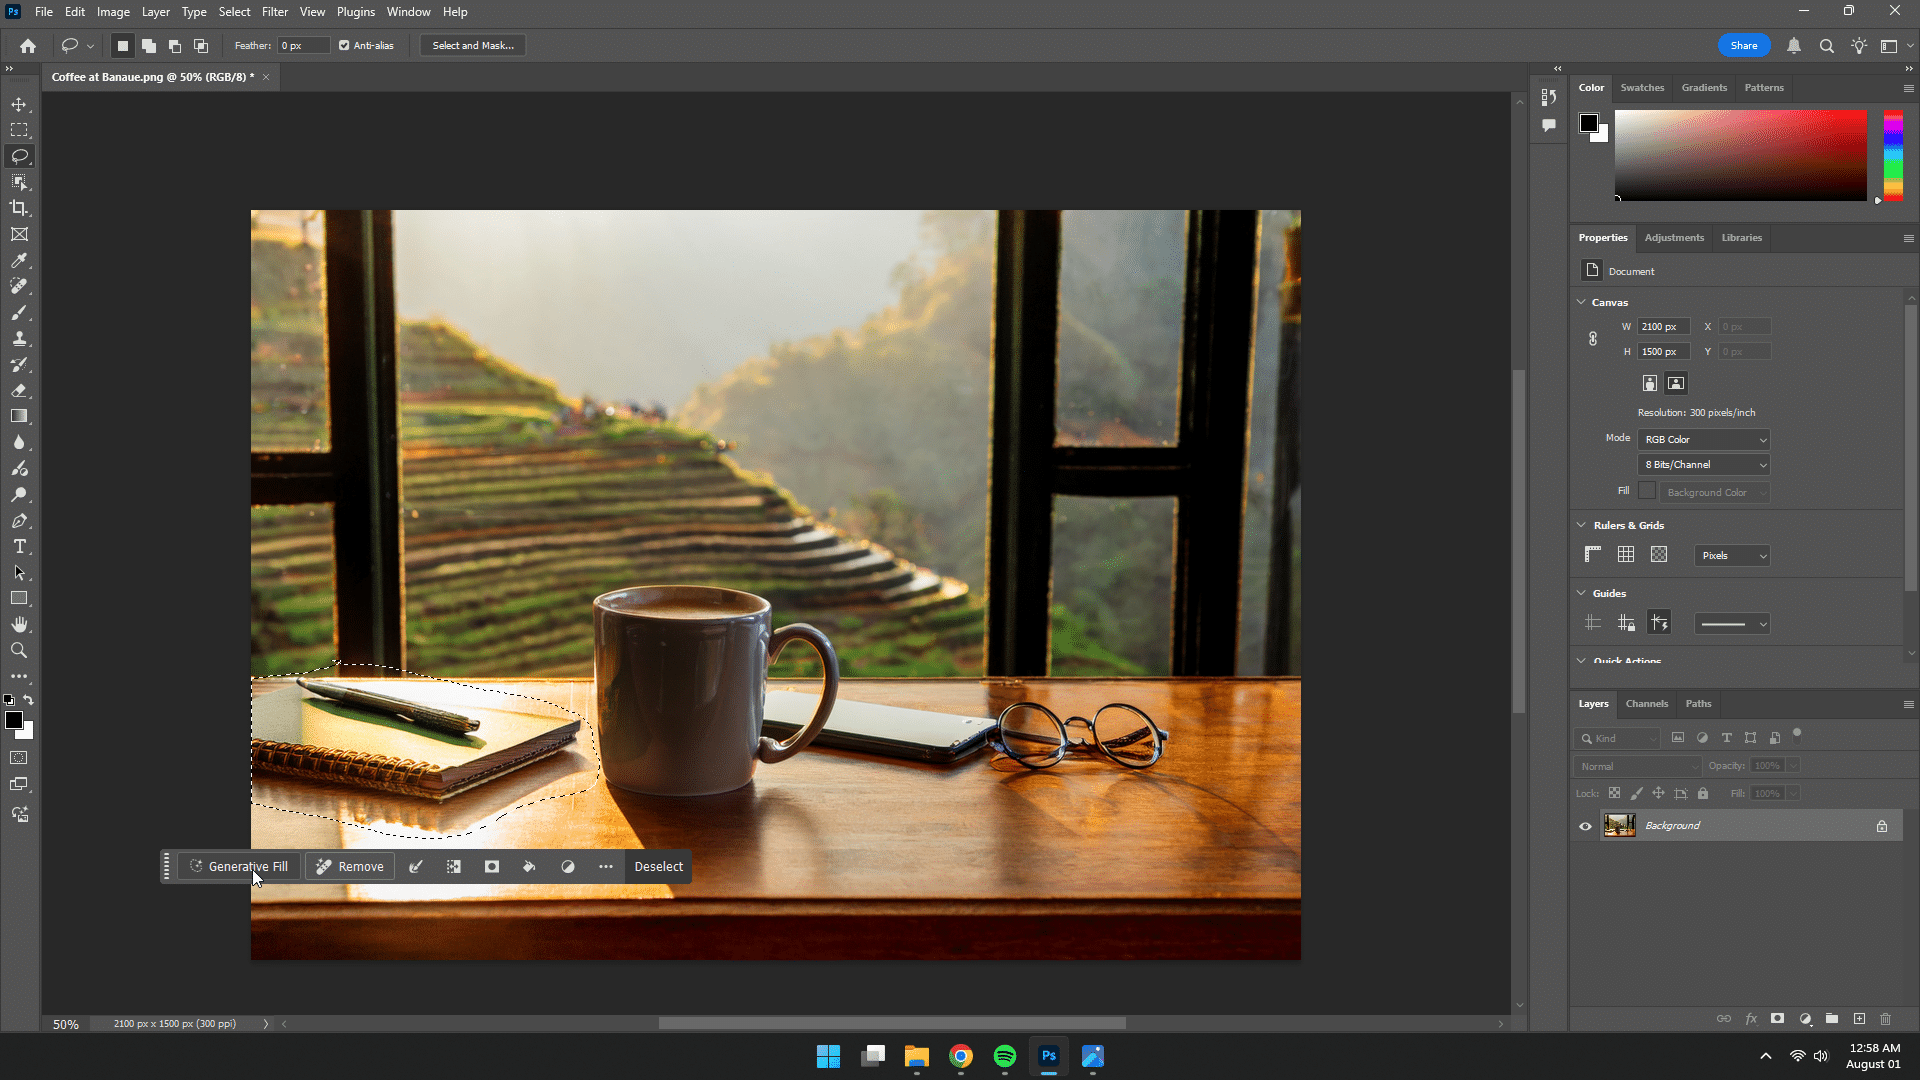
Step 4: Leave the Prompt Blank (for removal)
If you want to simply remove the object, leave the prompt blank and hit Generate.
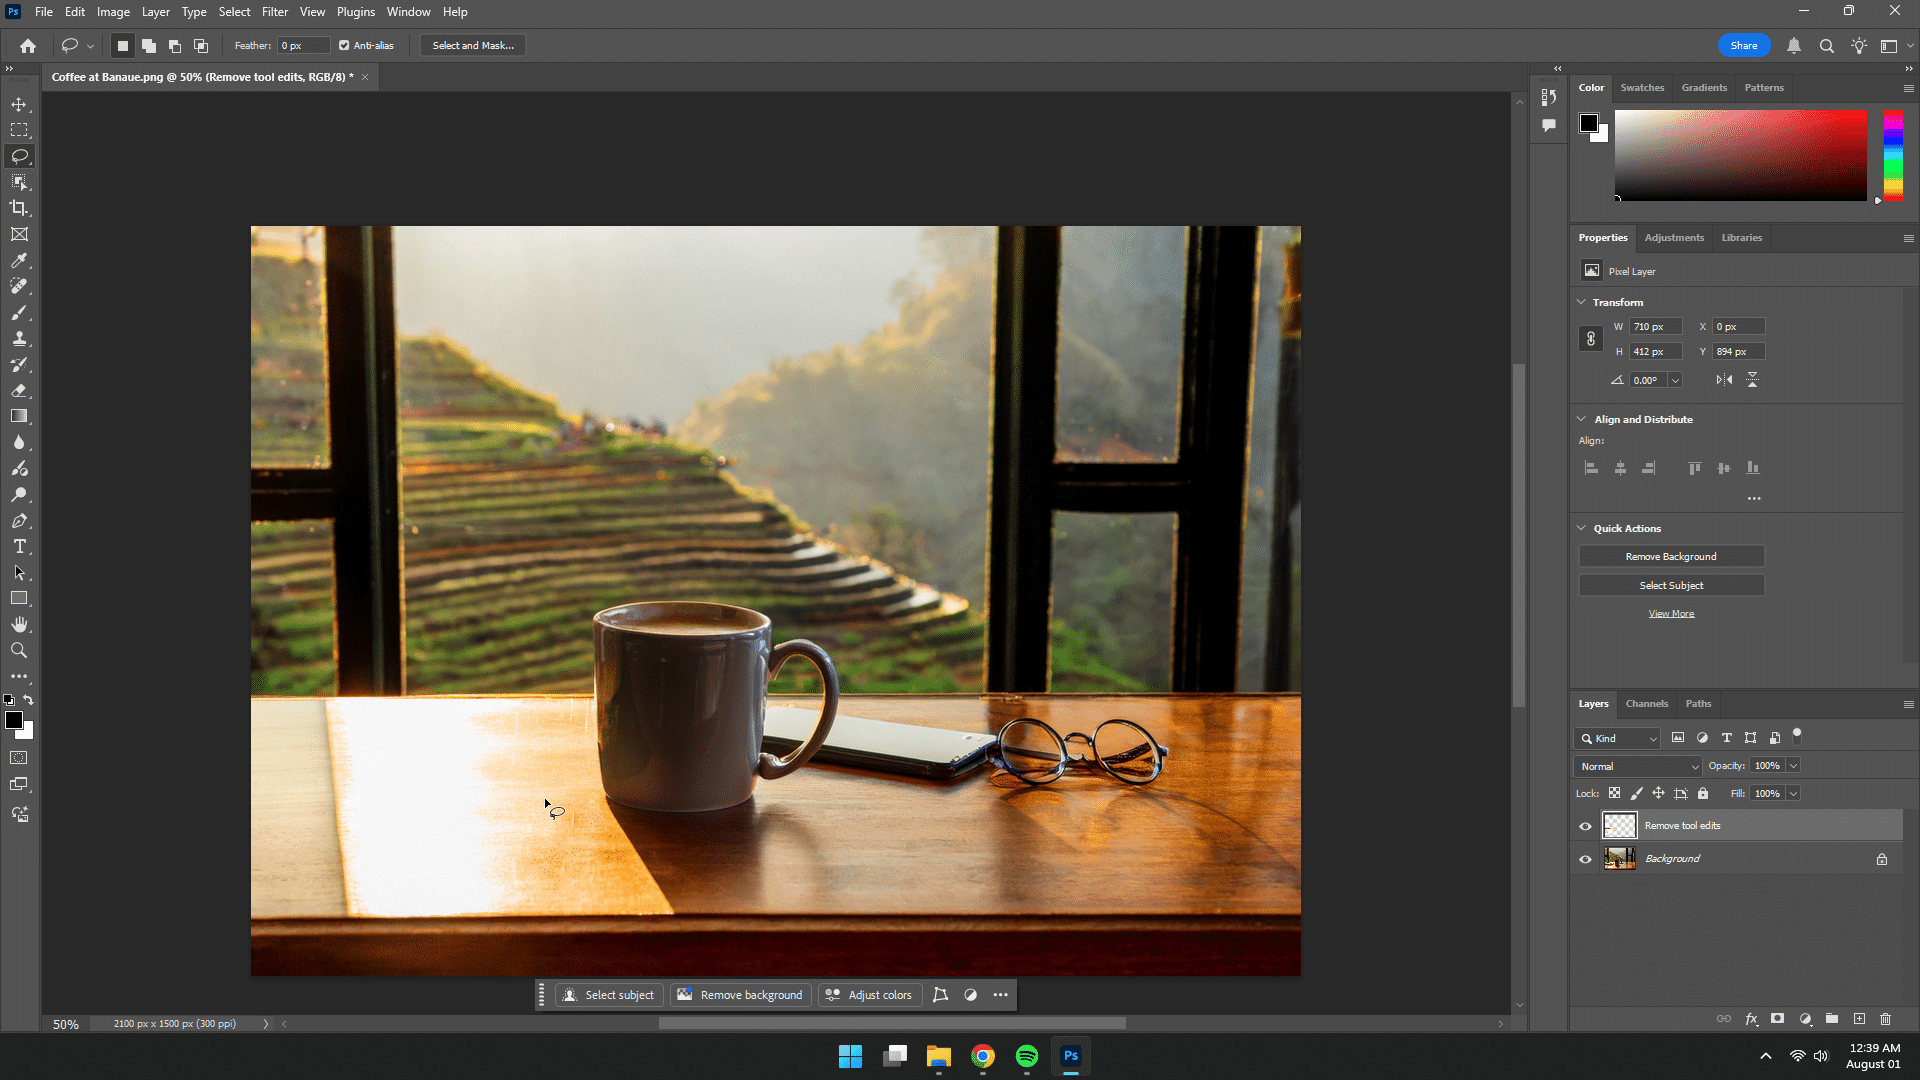
Step 5: Choose Your Variation
Photoshop will give you a few variations to choose from. Pick the one that looks best, and you’re done!
Time Saved: What might have taken 10–15 minutes of manual cloning and blending now takes 30 seconds. Genius!
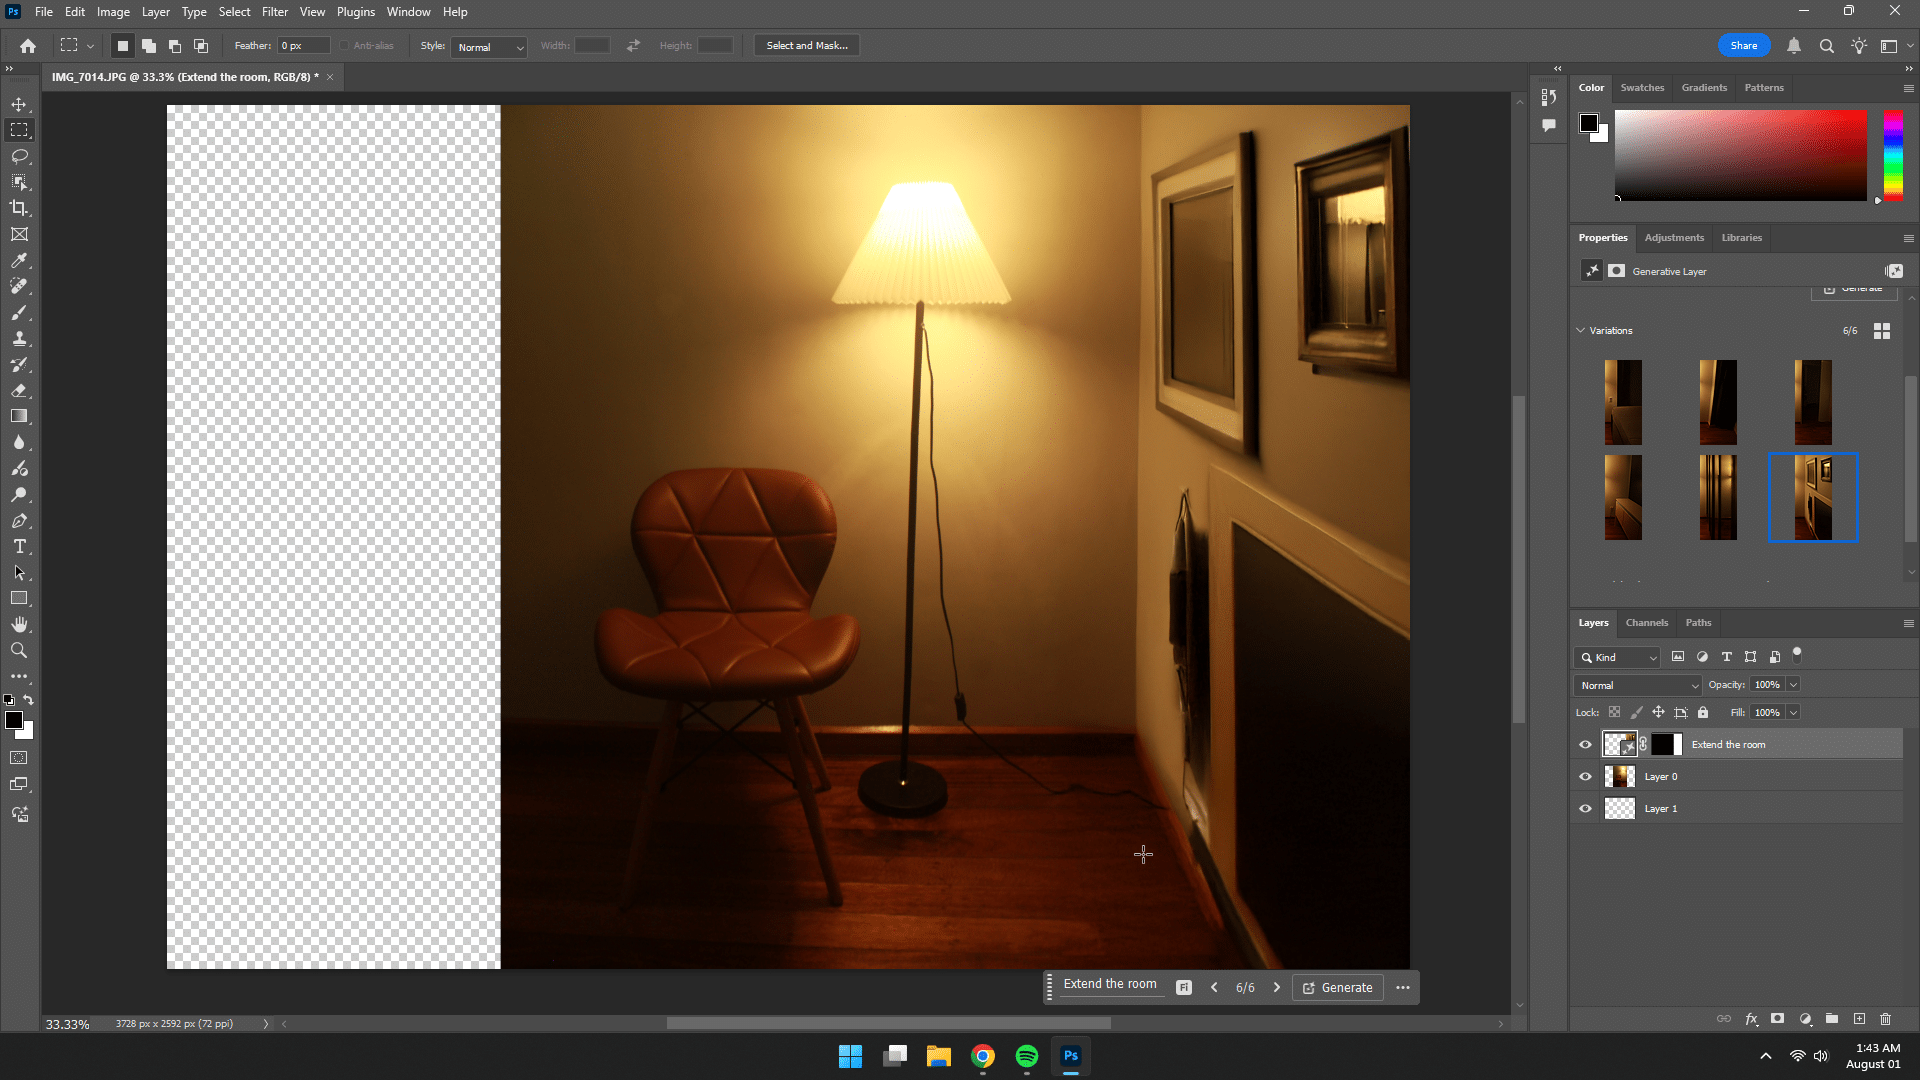
Step-by-Step Tutorial: Expanding an Image
This time, let’s assume you need to convert a vertical image into a horizontal banner.
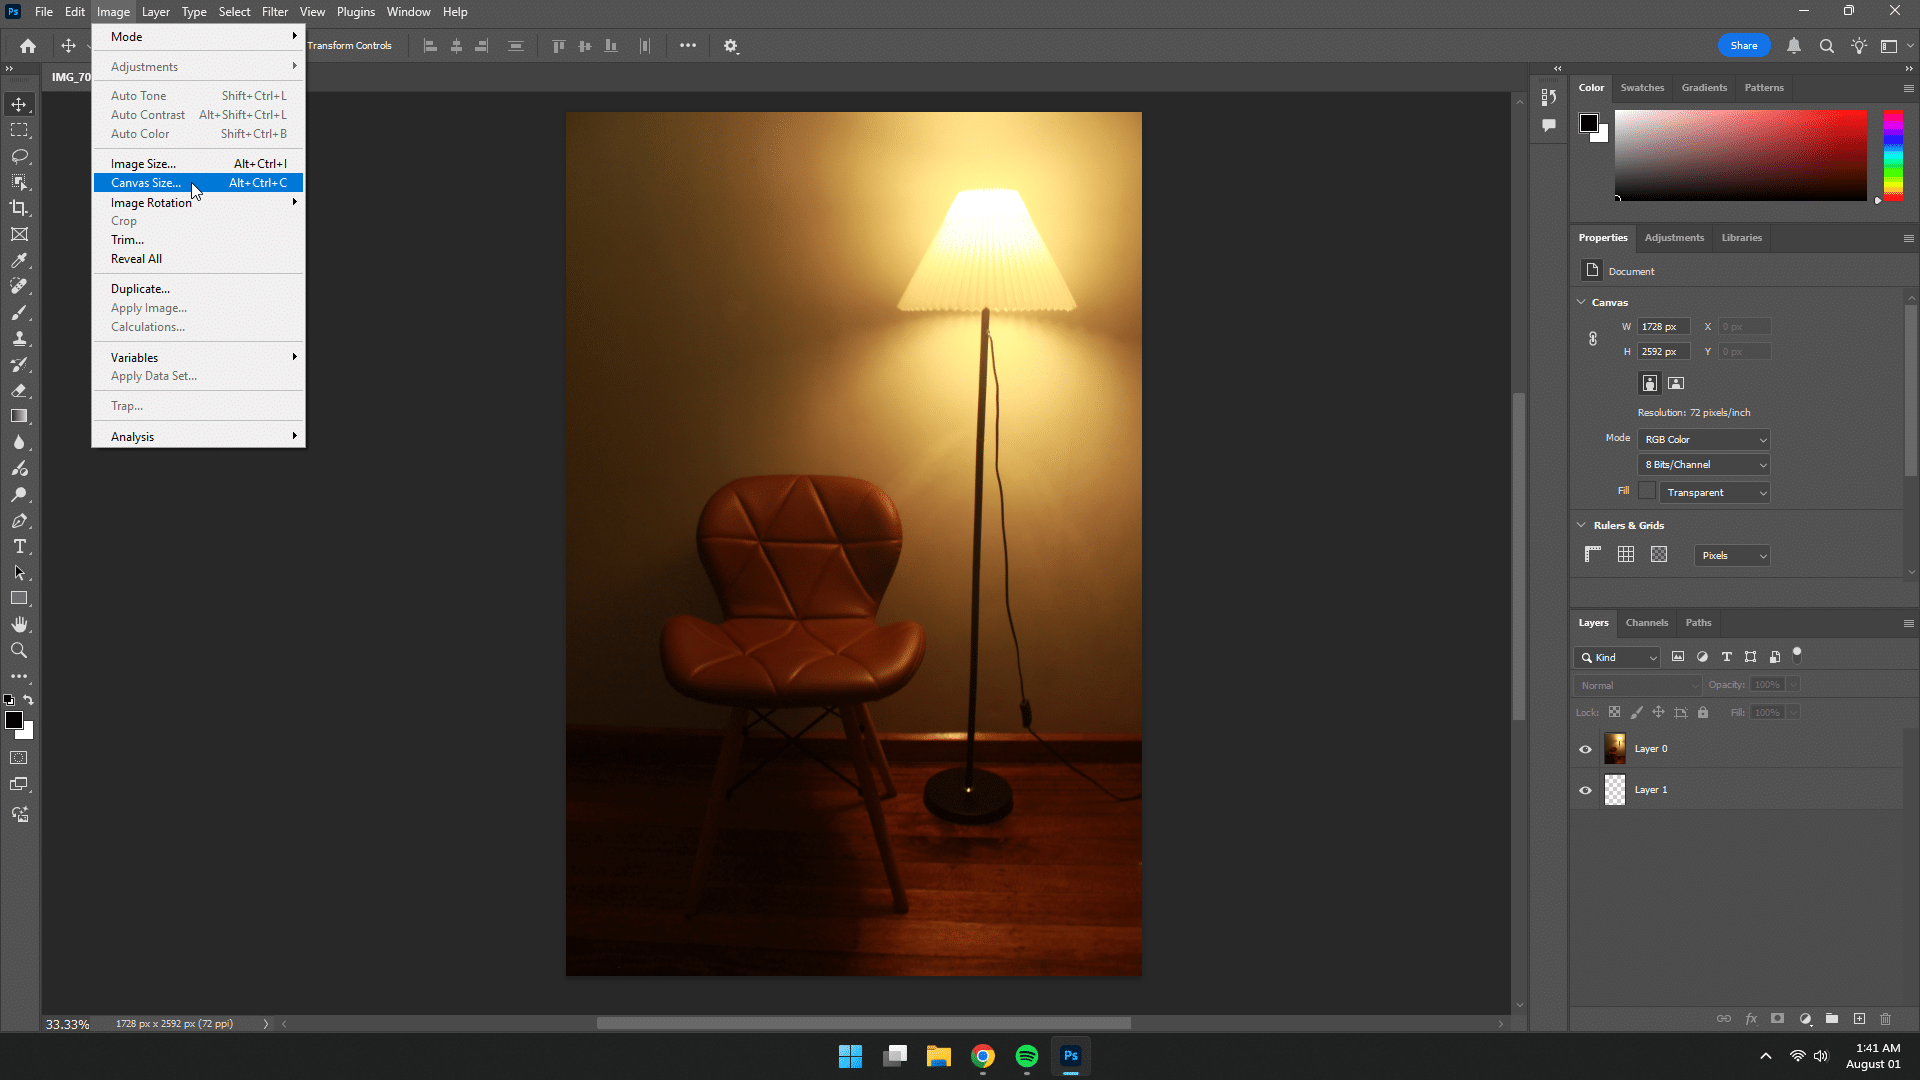
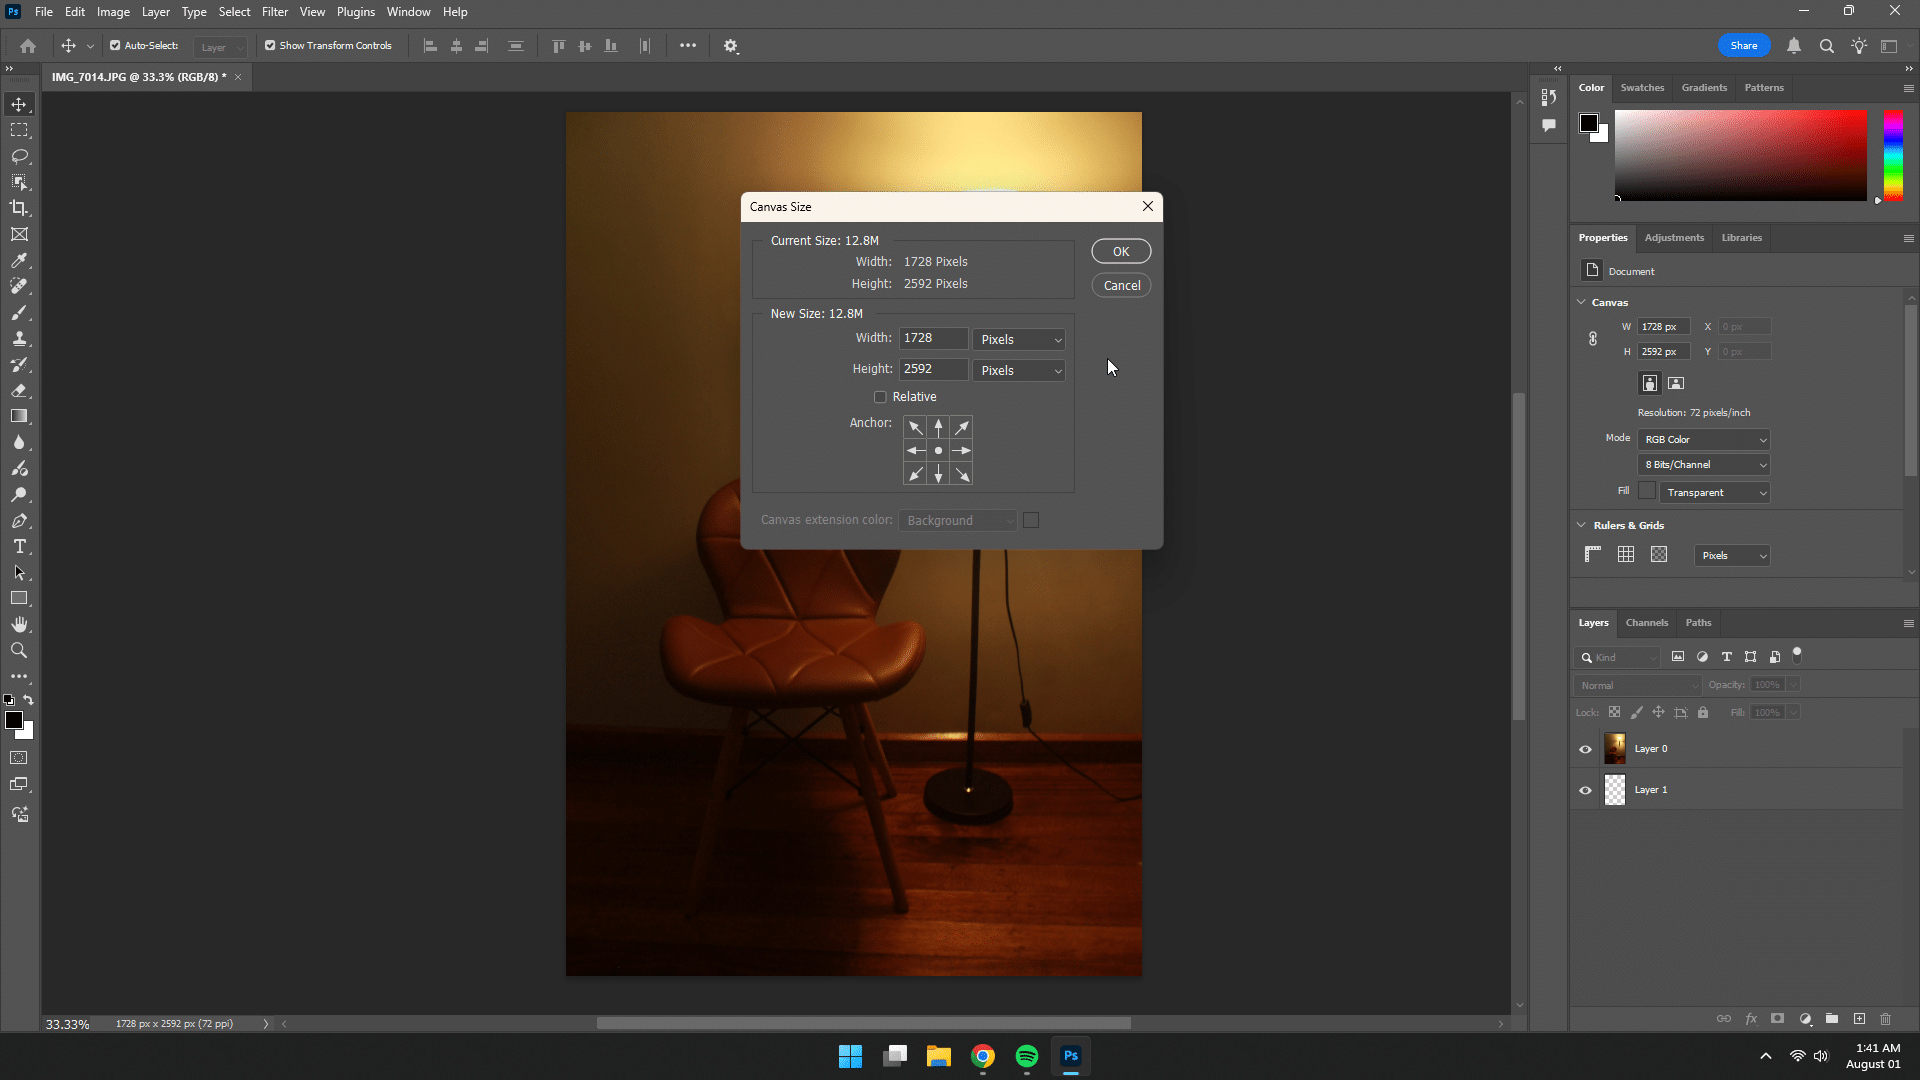
Step 1: Increase Canvas Size
Go to Image > Canvas Size and extend the width.
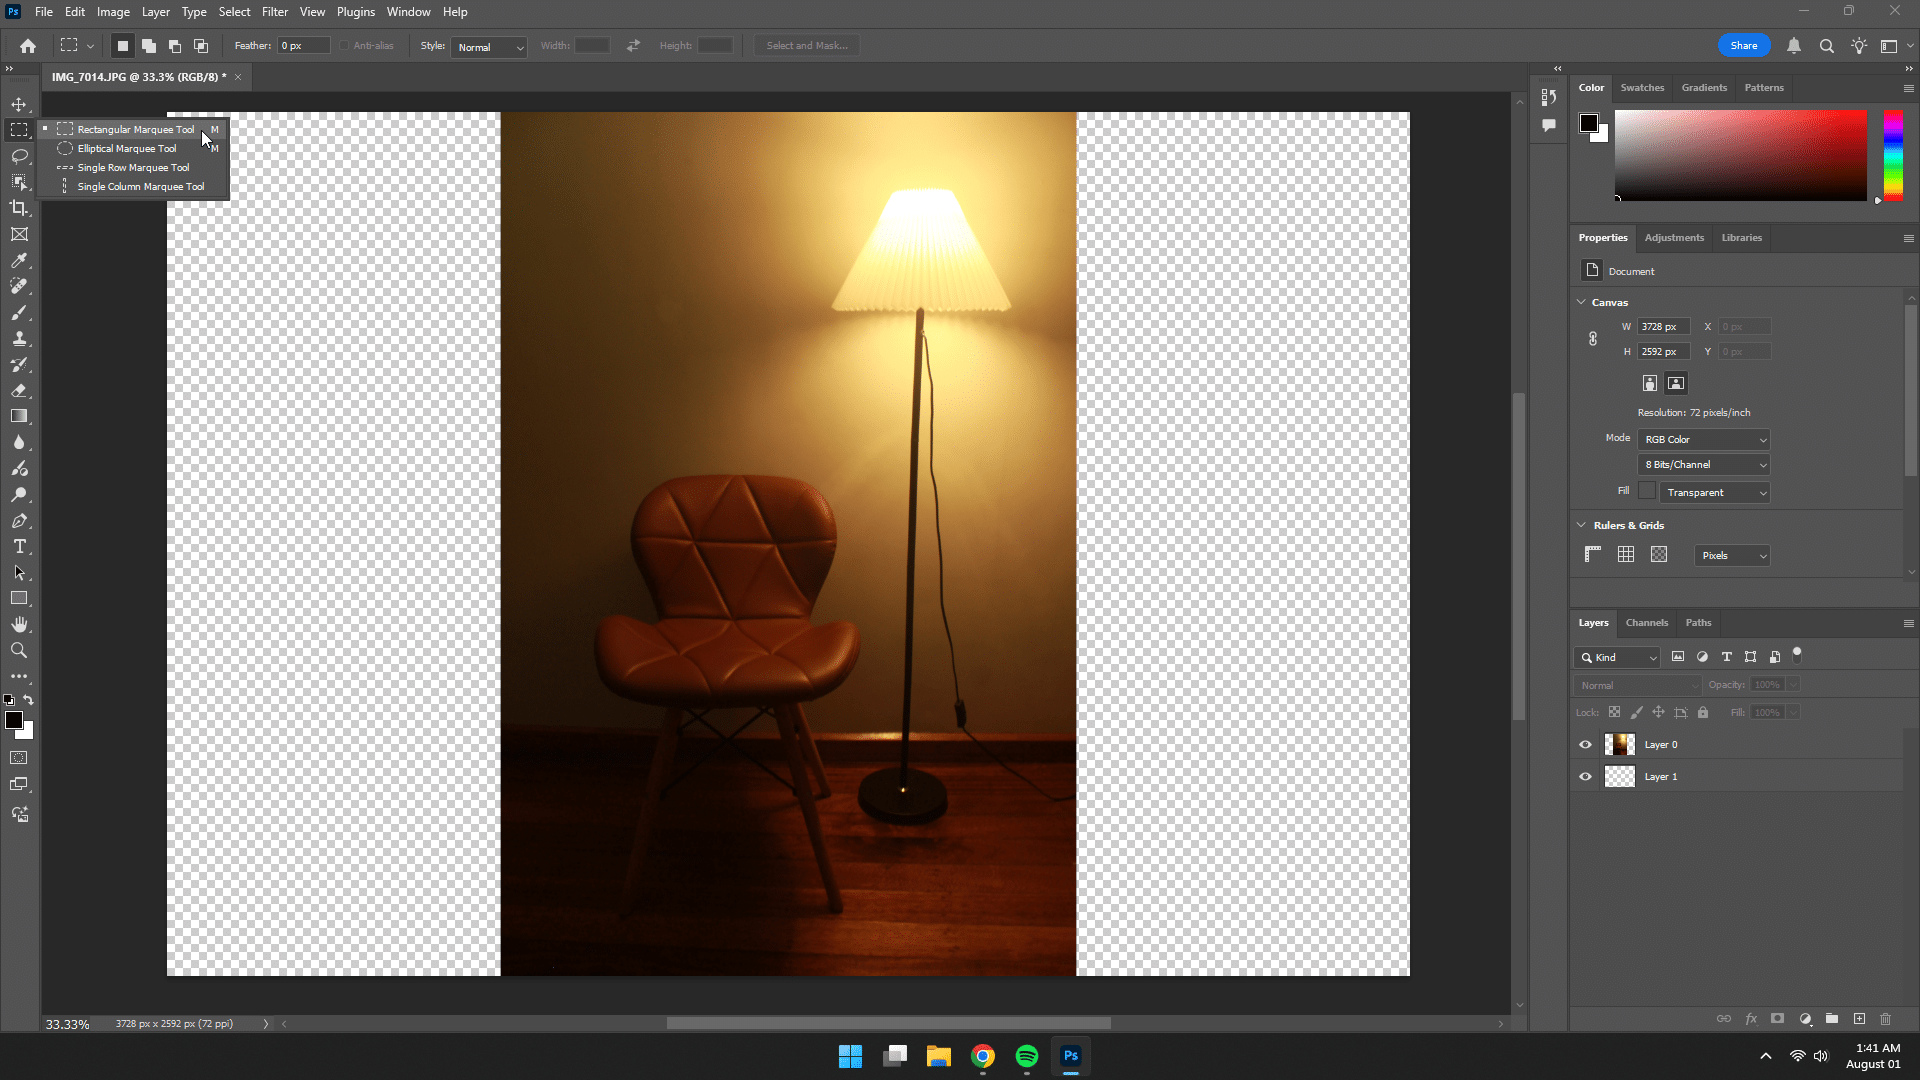
Step 2: Select the Empty Area
Use the Marquee Tool to select the newly added empty space.
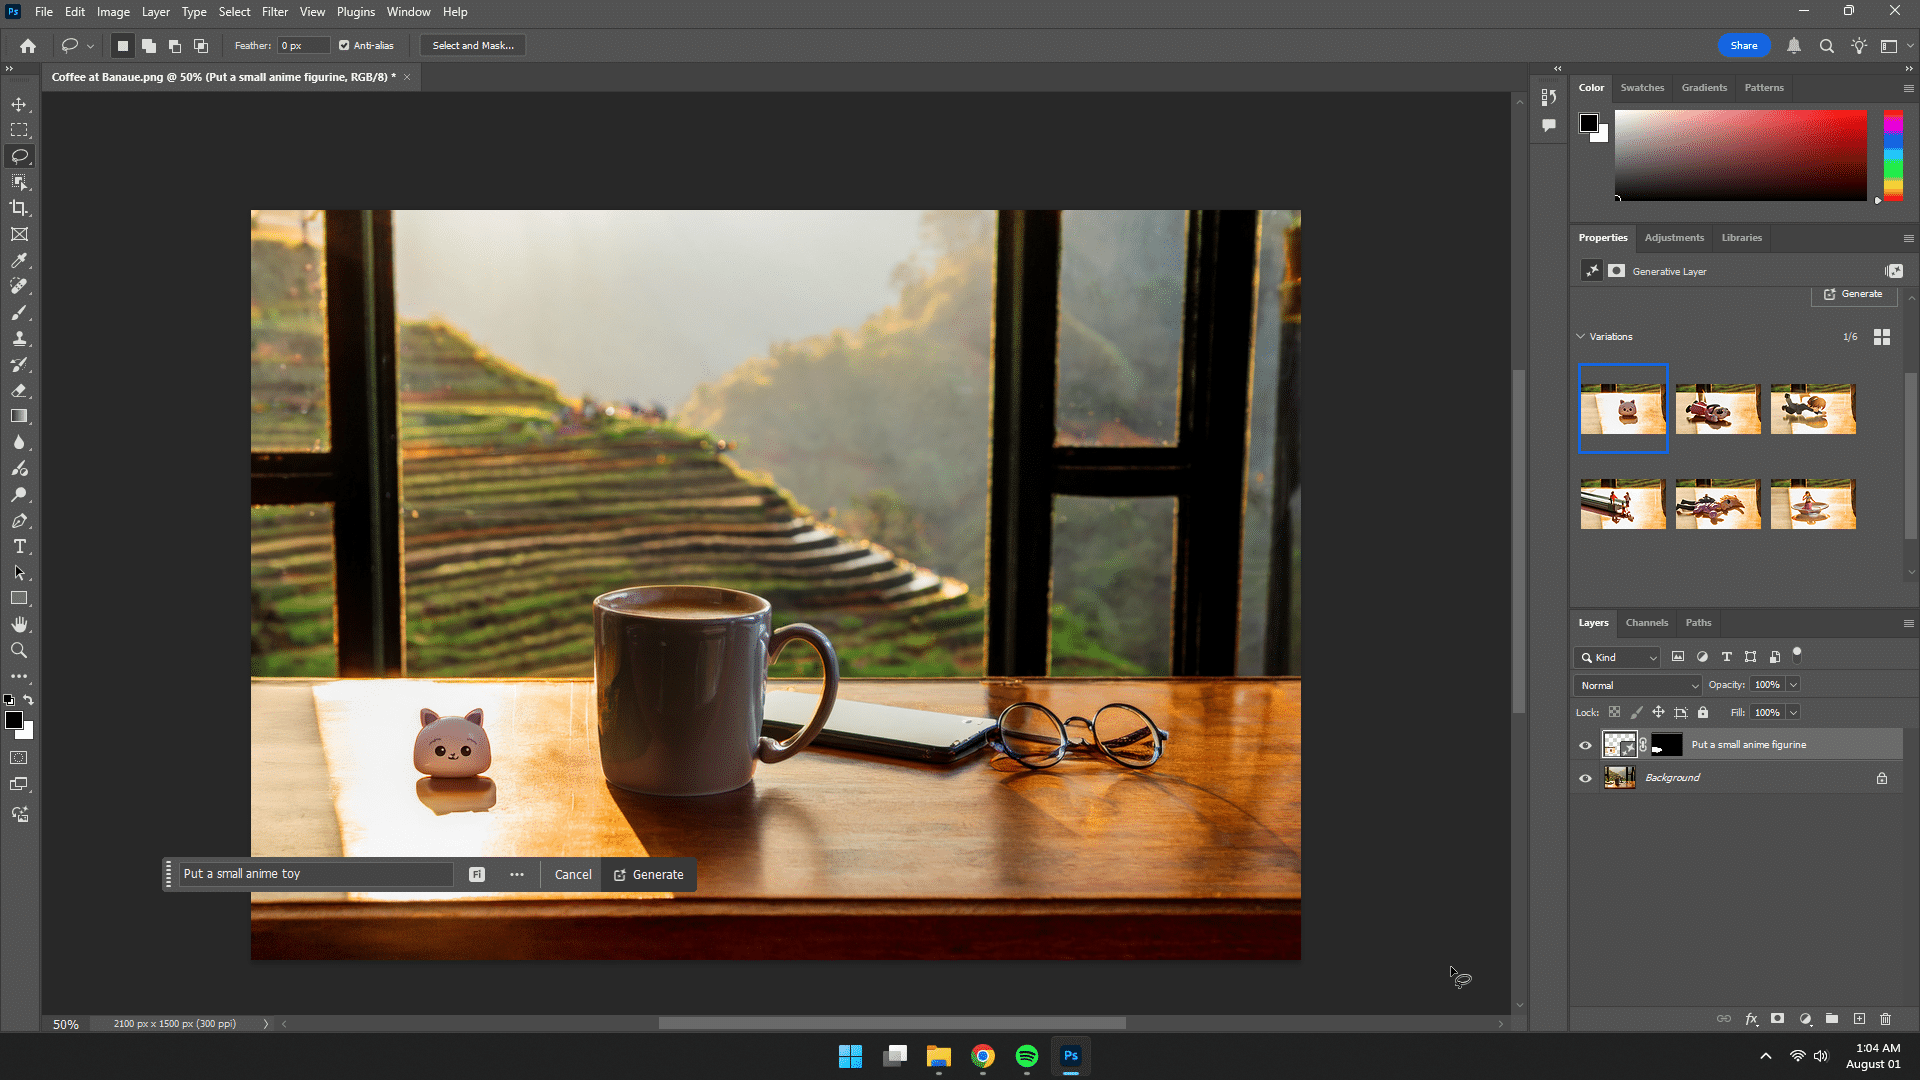
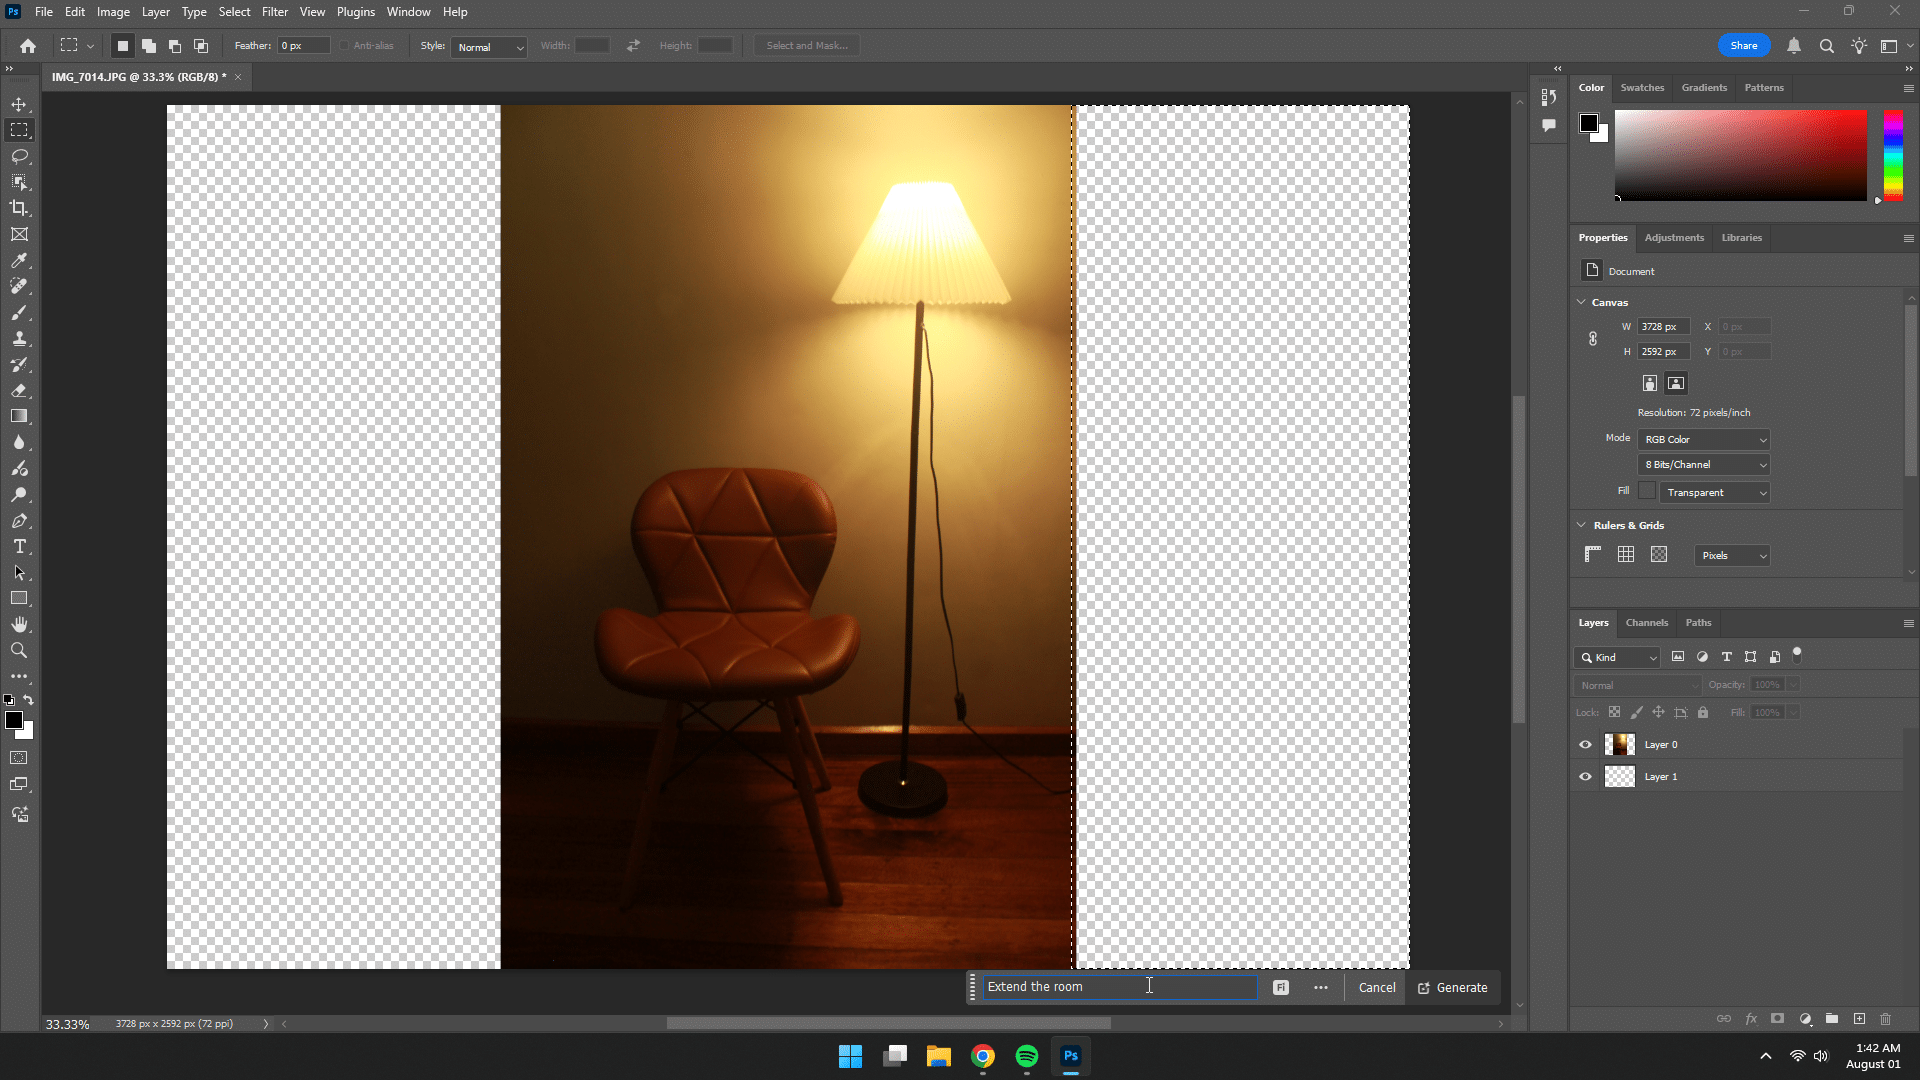
Step 3: Click “Generative Fill” and Type a Prompt
Type something like: “extend the room” and click Generate.
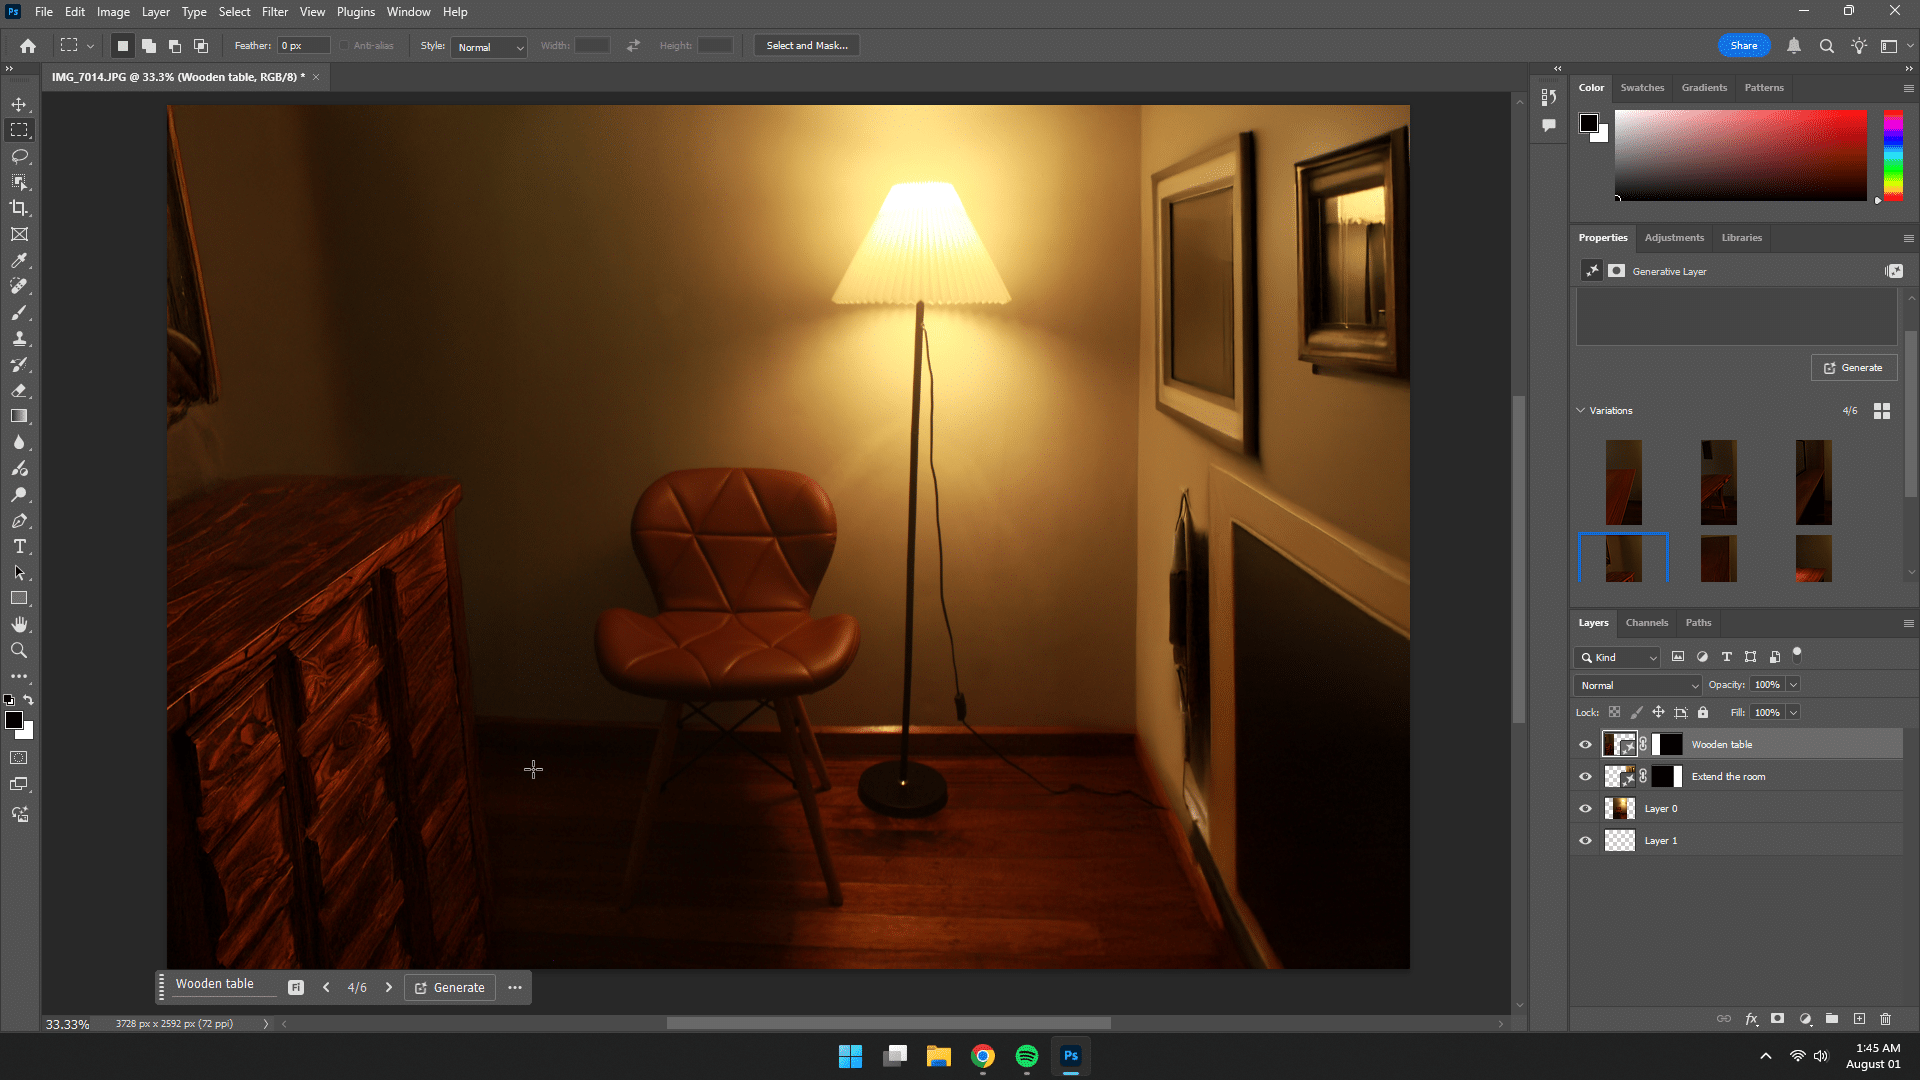
Step 4: Review and Refine
Choose the best variation. Use the Remove Tool if needed for minor touch-ups.

and presto, the final result!
Time Saved: Instead of searching for stock photos or recreating the scene manually, you’ve expanded your layout in under a minute.
Tips for Better Results
- Be specific with your prompts: Instead of “add background,” try “add blue sky with clouds.”
- Use high-resolution images for best output
- Don’t be afraid to regenerate if you don’t like the first result
- Keep it subtle. The overuse can make images look oddly artificial
Real-Life Examples: How I Use Generative Fill
Here are a few real projects where Generative Fill saved me time and hassle:
1. Social Media Graphics
I needed to extend a horizontal product shot to fit a YouTube thumbnail. Instead of stretching or cropping, I used Generative Fill to seamlessly add more background on each side. Took less than two minutes.
2. Event Posters
I had a photo of a crowd but needed more space for text at the top. I selected the sky, typed “sunset sky with soft lighting,” and it generated the extra space I needed while actually making the image look better.
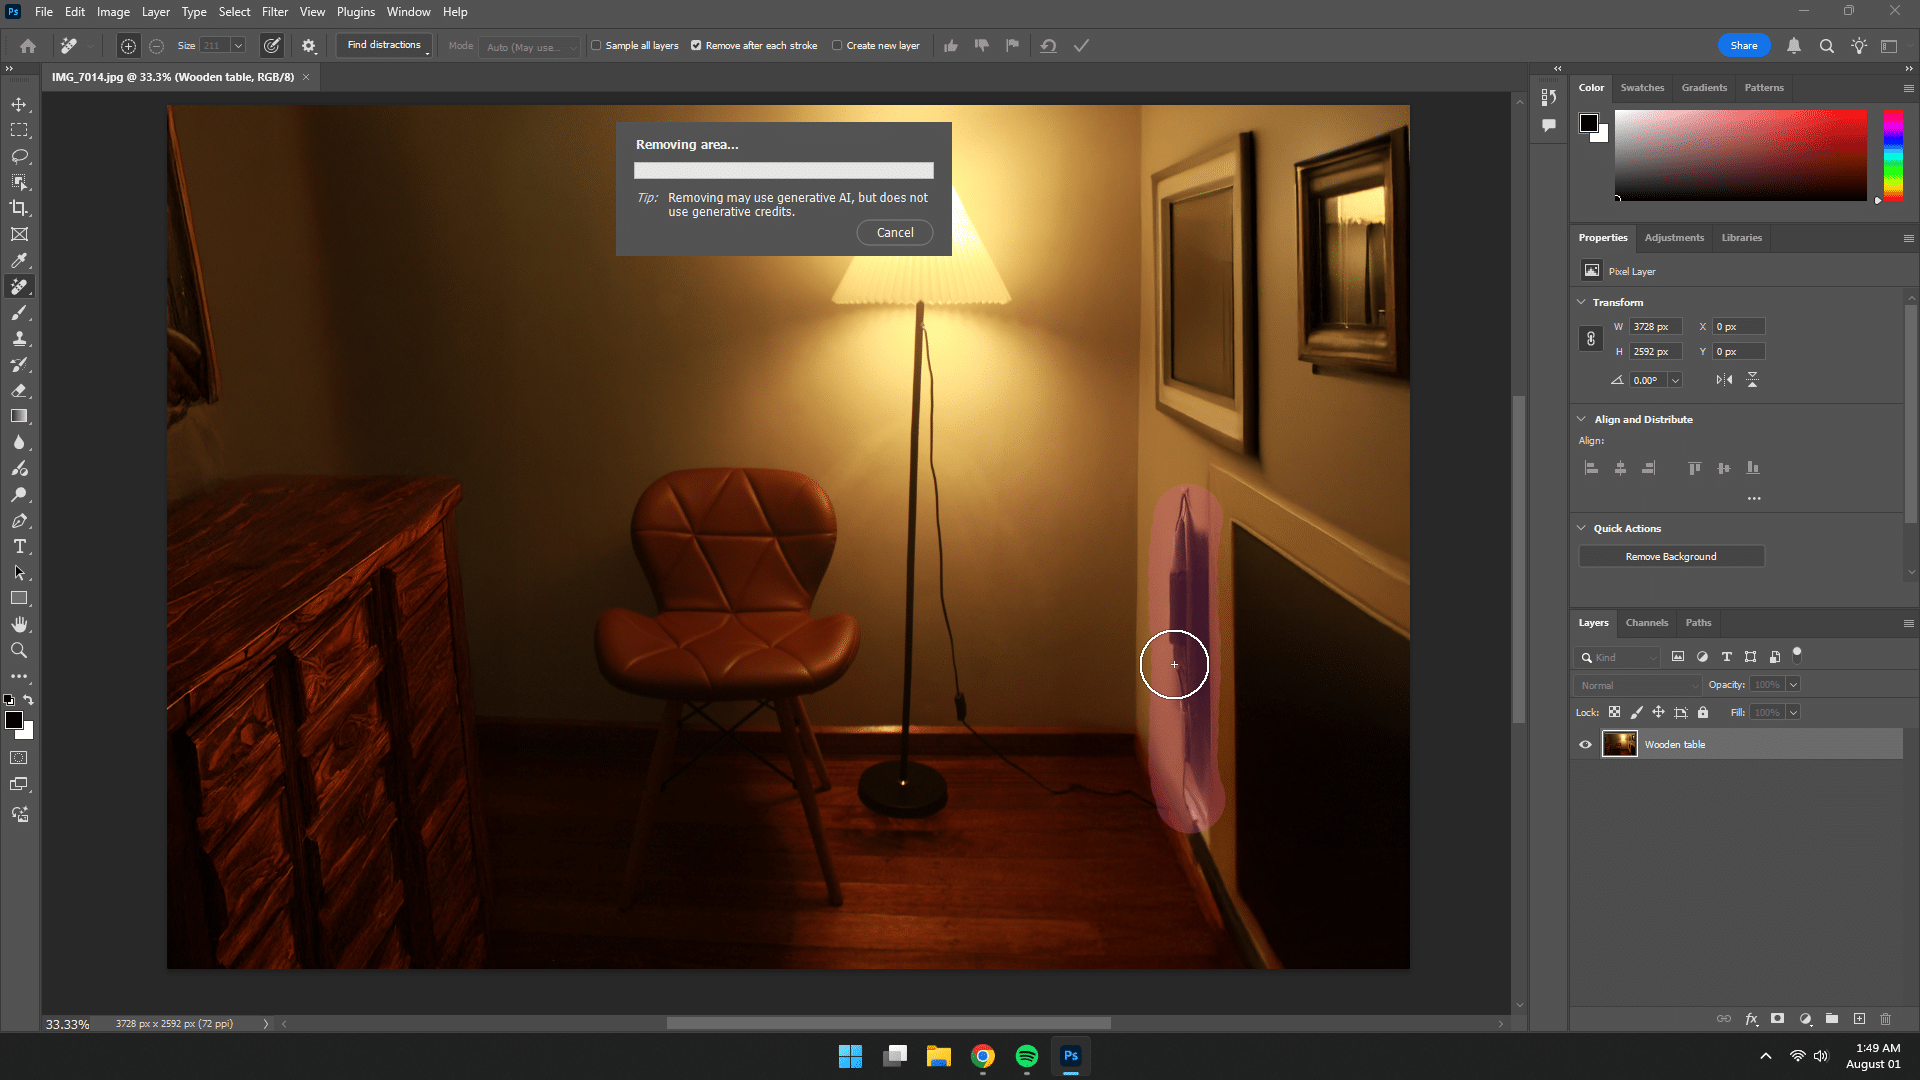
3. Cleaning Up Photos
I was cleaning up a few photos, and one of the images had a plastic bag stuck in the corner. I circled it, typed “grass,” and watched Photoshop patch it up perfectly. No more cloning for 20 minutes.
When Not to Use Generative Fill
As much as I love this tool, it’s not perfect for every scenario. A couple of things this feature may not sit well with, in my opinion, are the following:
- Fine details can still look AI-ish. Hair, hands, and faces are tricky.
- It’s not ideal for high-end print unless you double-check resolution and do some manual retouching.
- Legal note: If you’re working with commercial assets or stock photos, always check usage rights. Generative Fill is trained on Adobe’s Firefly model, but it’s still smart to do your due diligence.
Final thoughts on Adobe Photoshop’s Generative Fill feature
I love it! I don’t think it’s a secret at all. Generative Fill has become one of my favorite ways to speed up my creative process and experiment with new ideas. It’s powerful, fast, and surprisingly fun to use. Whether I’m cleaning up an image or building something from scratch, this tool has saved me hours and helped me deliver better results to clients and collaborators.
But like many things in creative work, we have to be careful. Knowing when to let AI lead and when to take the reins yourself is what keeps your work thoughtful, original, and truly yours.
If you haven’t tried it yet, I highly recommend giving it a go.
Related Posts
- Best Photoshop Alternatives
- Adobe Creative Cloud Pricing Guide
- Best Tablets for Photoshop
- Best Photoshop Alternatives
- How much is Adobe Photoshop?
- Best Laptops for Photoshop